SQL-Installation
In this tutorial, we will learn how to install SQL Server 2019 in the windows operating system. The following steps help us to install MS SQL Server in the Windows operating system. Mainly we have devide that installation in two parts.
- Download SQL Server 2019 Setup
- Install SQL Server
1. Download SQL Server 2019 Setup
We can use the following steps to download MS SQL Server in the windows operating system.
Step 1: Go to the microsoft official page through this URL:
https://www.microsoft.com/en-in/sql-server/sql-server-downloads
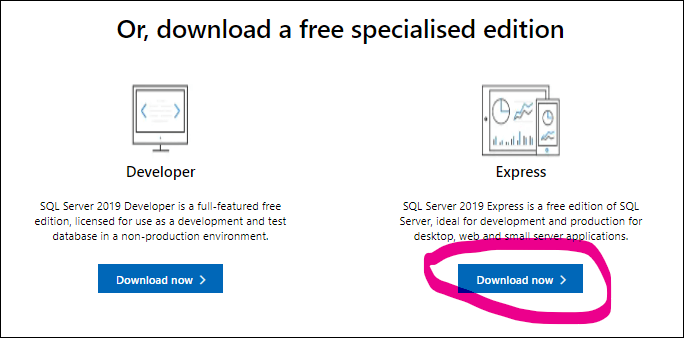
Microsoft provides you with some SQL Server editions. For learning purposes, you can download the Developer edition.
- Developer Edition - It has all the features of MS SQL Server, however we are unable to use it as a development and test database in a non-production setting. It's the perfect edition from a learning perspective or standpoint.
- Express Edition-It is also a free edition with a constrained or limit set of features that is appropriate for developing and producing desktop, web, and small server applications.
Now, we are going to select the express edition of SQL Server for installation on our system.
Step 2: Select "Download Now". The SQL Server setup begins downloading on our system immediately.
Step 3: Once the file has been downloaded, we will get the setup named SQL2019-SSEI-Expr

2. Install SQL Server
Step 4: Double click on "SQL2019-SSEI-Expr.exe" setup file. We will get the below screen with three options: Basic, Custom, and Download Media files. Here, we will select the 'Basic' option to install the basic version that includes all of the default configurations needed to learn Microsoft SQL Server.

Step 5: The next wizard will ask you to accept the 'Microsoft Server License Terms', click on the 'Accept' button. Next, we will specify the SQL Server installation location; if necessary, we can change it to the desired place and click the Install button. To wait for the download process to complete installation packages. Once the installation is completed successfully, we will get the SQL Server Installation Center window similar to the below screen.

Step 6: On the next page, read the terms of the license agreement and then click on the Next button.

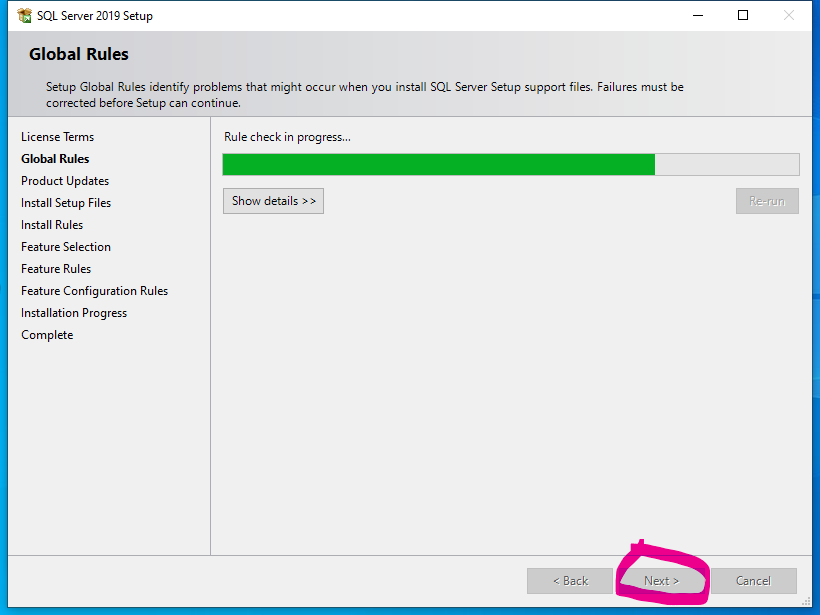
Step 7: In the next wizard, i.e., on the Global Rules page , if no rule error is found, the setup will automatically navigate to the Product Updates page .
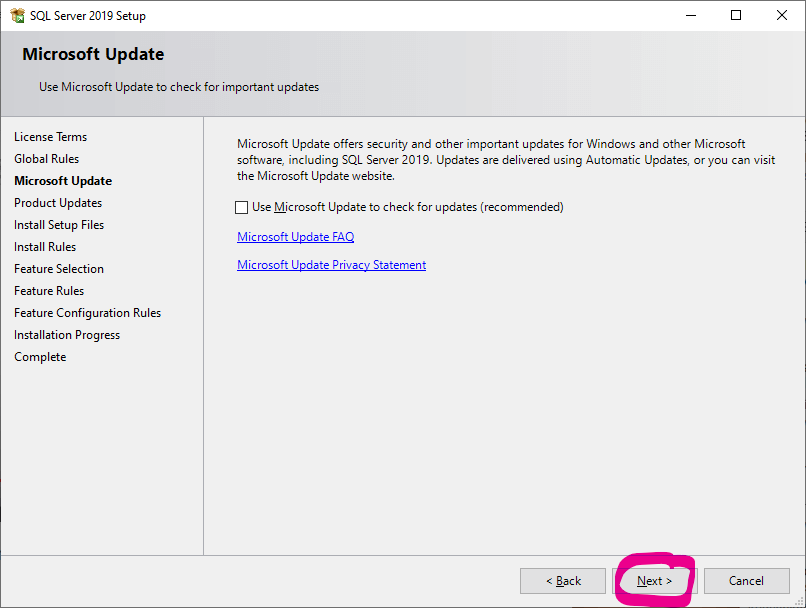
Step 8:The next page is a Microsoft Update page. When we click the check box, it will check the latest updates for all Microsoft products for changing the computer settings. After finishing the updates, click on Next.
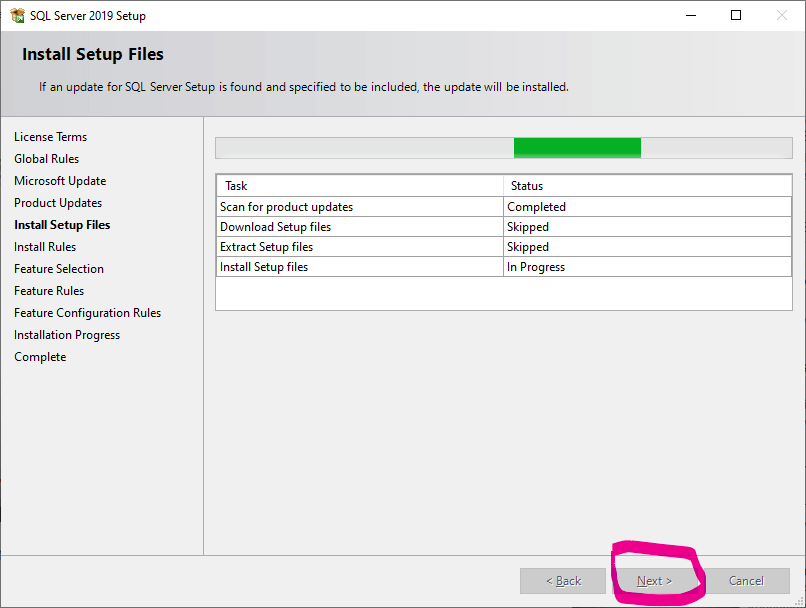
Step 9: The next wizard is the Product Updates page that shows the latest SQL Server software updates. If it does not find any product updates, the setup skips over this page and automatically navigates to the Install Setup Files page. The next wizard is the Install Setup Files page that displays the progress of the download, extract, and installation of the setup files. If it finds an update and we want to include these updates, it will be installed as well. If no update is found, the setup will automatically navigate to the next page.
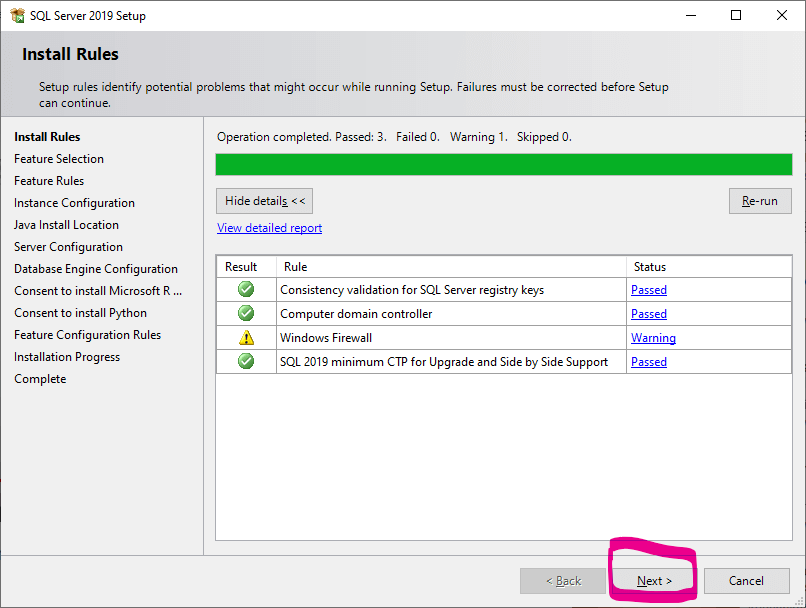
Step 10: The next wizard is the Install Rules page on which the setup tests for possible issues that can arise while running the setup. If it finds issues, select an item in the Status column for more detail. If no issues are found, click on Next.
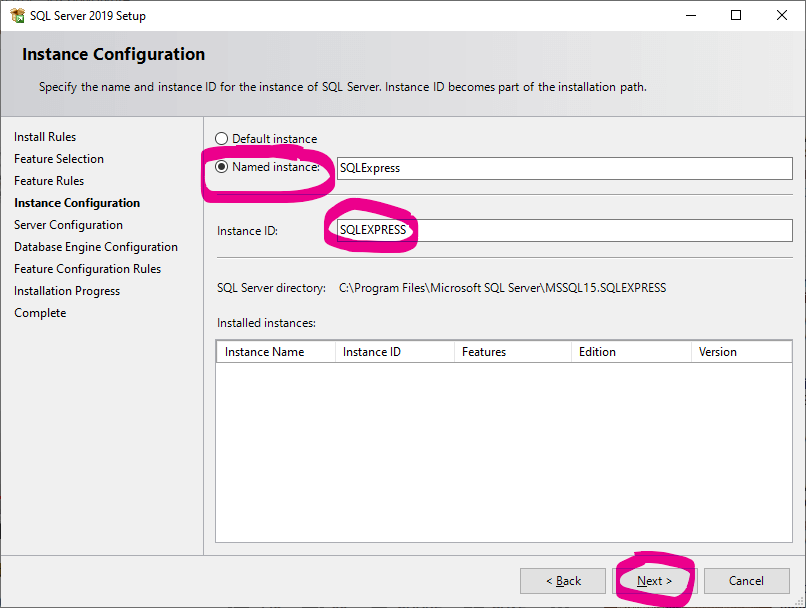
Step 11: In the next wizard, Provide the instance ID of the SQL Server and click the Next button.
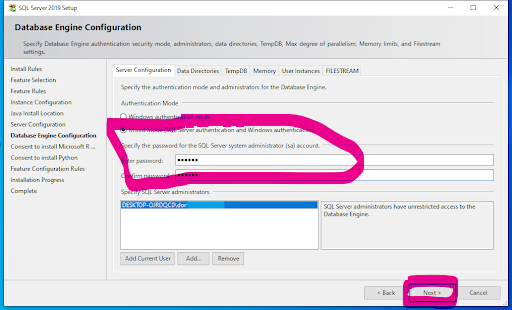
Step 12: In the next wizard, Server Configuration page, where we will specify the service account and collation configuration. Here, we will set the startup type Automatic and click on Next to proceed. The next wizard is the Database Engine Configuration, where we will specify the authentication security mode, administrators, and data directories.
Select the Mixed Mode, provide the password for system administration (sa) account (you need to store this password in a secure place so that you can use it to connect to the SQL Server later), Click the Add Current User to specify the SQL Server Administrators, and click the Next button:
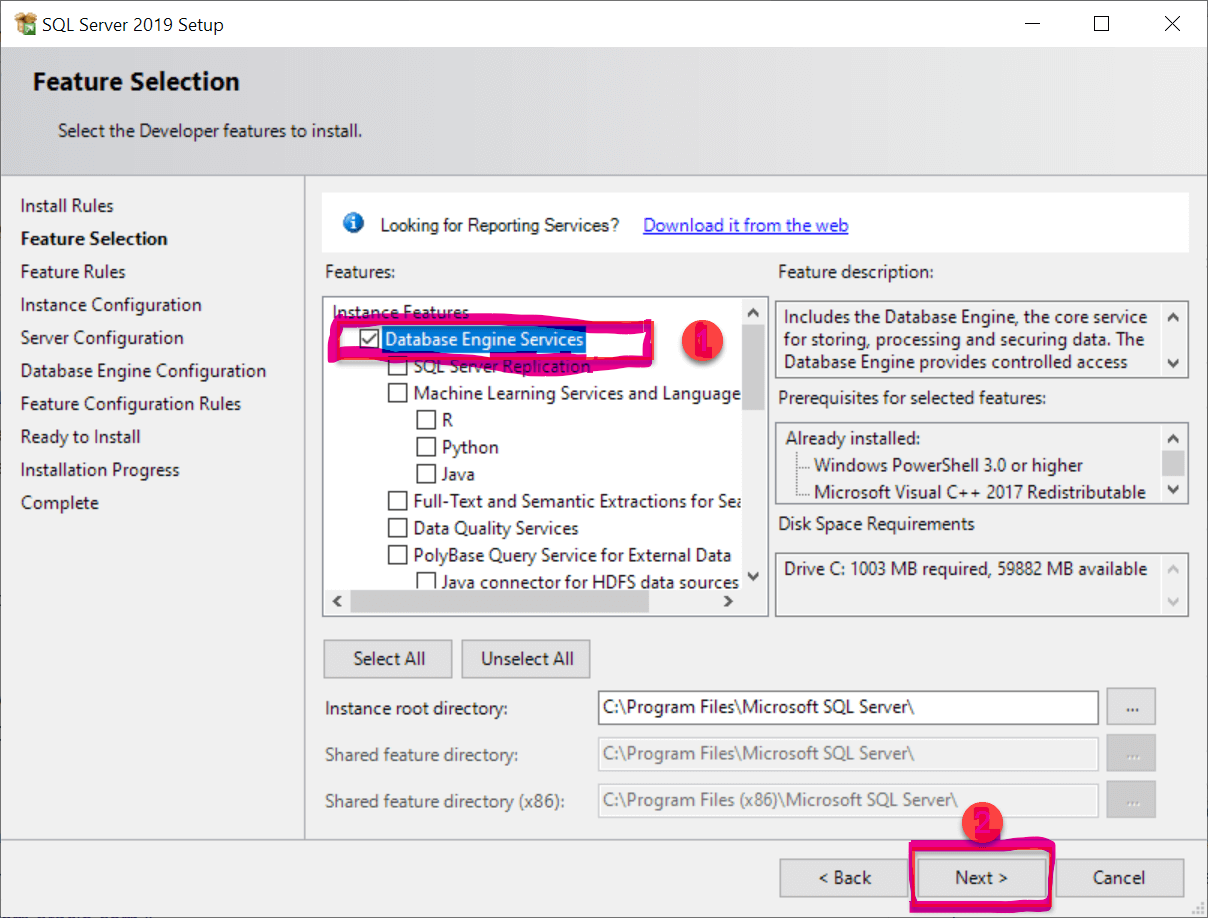
Step 13: Verify the SQL Server 2019 features to be installed.
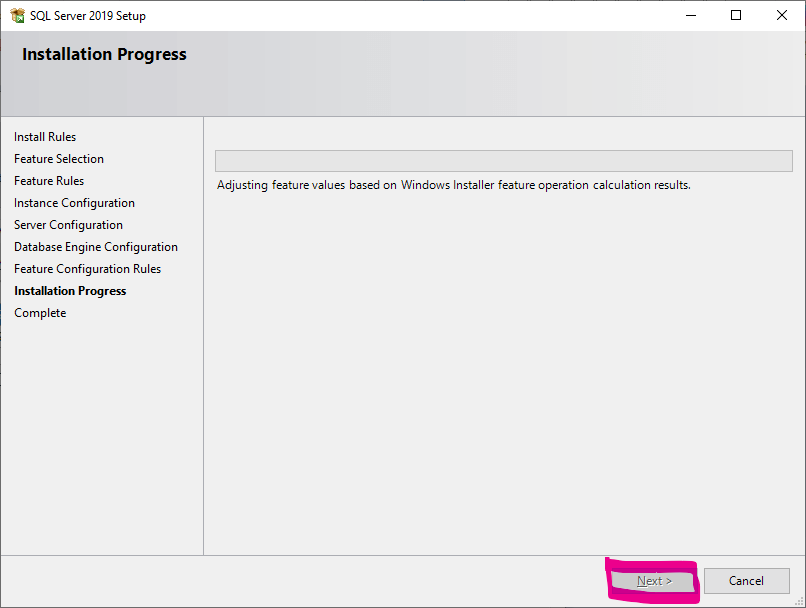
Step 14: Once the installation wizard is complete, click on the Close button to finish the setup.
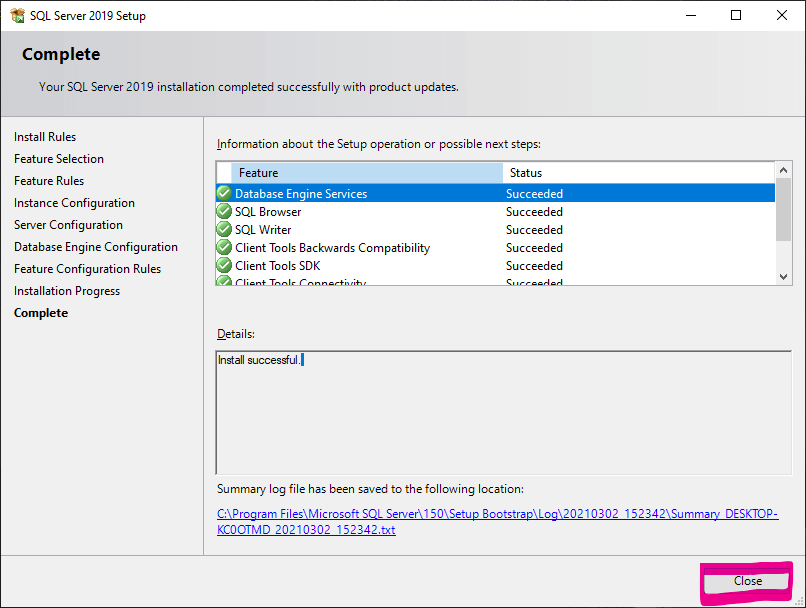
Now you have successfully installed SQL Server 2019.
Next
