Angular Input
@Input Decorator in Angular
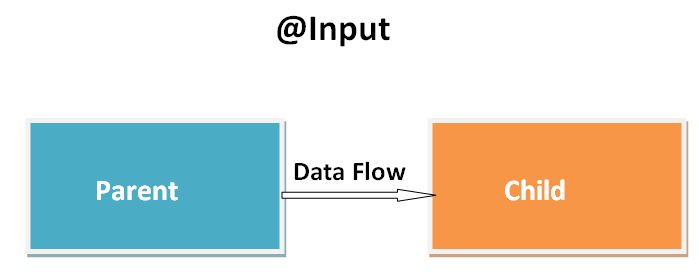
@Input is a way to communicate or share data parent to child components or directives. Data flow will be parent to child that means it will be available properties for other components. That is shown in the below figure child directives or components receive its value from its parent component.
Here, we'll create a parent component and child component in our application. So we will see how parent transfer data to child.
Create an application
The following command uses the Angular CLI to create a Angular application. The application name in the following example is anglarinput.
ng new anglarinputAdding components
The following command uses the Angular CLI to create component. The components name in the following example is child, parent.
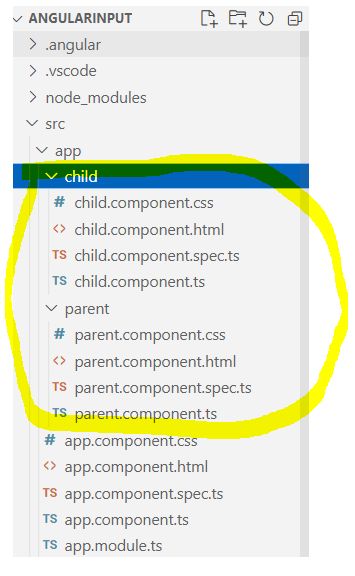
ng generate component child
ng generate component parent
After creating our components, we will see child, parent components in separate folders shown in below image.
Child Component
To use the @Input decorator in a child component class, first import Input and then decorate the property with @Input. Now add the following code to the child.component.ts.
import { Component, Input, OnInit } from '@angular/core';

@Component({
  selector: 'app-child',
  templateUrl: './child.component.html',
  styleUrls: ['./child.component.css']
})
export class ChildComponent implements OnInit {
  @Input() Employee: any[]=[];
  constructor() { }

  ngOnInit() {
  }
}
In the above code we define an array with @input decorator as:
@Input() Employee: any[]=[];
Employee array take data from parent component and bind that with child.component.html with following code.
<table border="1" cellpadding="0" cellspacing="0">
<thead>
<tr style="background-color:blue; color:white">
<th>Employee ID</th>
<th>Name</th>
<th>Gender</th>
</tr>
</thead>
<tbody>
<tr *ngFor='let empobj of Employee'>
<td>{{empobj.ID }}</td>
<td>{{empobj.Name }}</td>
<td>{{empobj.Gender }}</td>
</tr>
</tbody>
</table>
Parent Component
Now add the following code to the parent.component.ts
import { Component, OnInit } from '@angular/core';
@Component({
selector: 'app-parent',
templateUrl: './parent.component.html',
styleUrls: ['./parent.component.css']
})
export class ParentComponent implements OnInit {
constructor() { }
ngOnInit() {
}
emplist: any[] = [
{
ID: '1', Name: 'Rohatash', Gender: 'Male'
},
{
ID: '2', Name: 'Rajesh', Gender: 'Male'
},
{
ID: '3', Name: 'Rahul', Gender: 'Male'
},
{
ID: '4', Name: 'Ritesh', Gender: 'Male'
},
{
ID: '5', Name: 'Ravindar', Gender: 'Male'
},
{
ID: '6', Name: 'Deepak', Gender: 'Male'
},
{
ID: '7', Name: 'Manoj', Gender: 'Male'
},
{
ID: '8', Name: 'Deepali', Gender: 'Female'
}
];
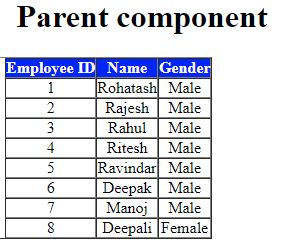
}With @Input Angular passes the value for emplist to the child so thatitemrenders asemployee list.
Add the following code in parent.component.html
<h1>
Parent component
</h1>
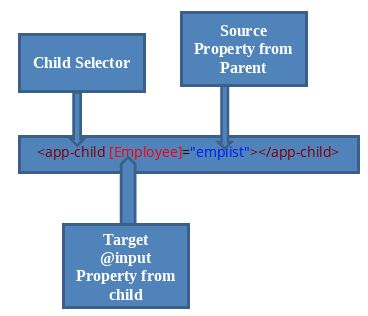
<app-child [Employee]="emplist"></app-child>The following diagram shows this structure of line <app-child [Employee]="emplist"></app-child>
Now run the application.
Prev Next