`
MVC-Area
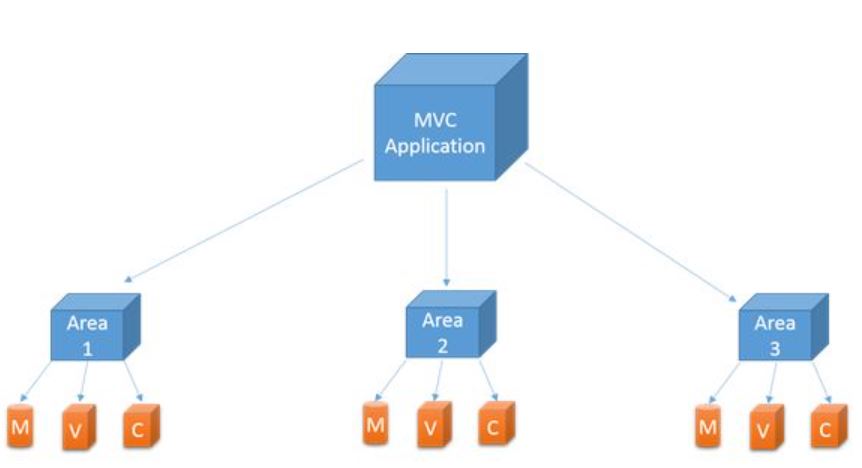
Areas in ASP.NET MVC are a way to divide a large application into smaller, more manageable sections. They help organize related functionality into separate modules, making it easier to manage and maintain the application. Think of them as mini-MVC applications within a larger MVC application.

Why Areas are useful?
- Separation of Concerns - By organizing different functionalities into separate areas, you can keep related components together, improving the separation of concerns.
- Modularity - Areas allow you to develop and manage different parts of an application independently, making it easier to collaborate and maintain the code.
- Routing - Each area can have its own routing configuration, controllers, views, and models, which helps in managing the application more effectively.
How to Create an Area?
- Add Area - Right-click on the project in Solution Explorer, go to "Add" and then select "Area". Give your area a name.
- Area Structure - Visual Studio will create a folder structure within the Areas folder that includes folders for Controllers, Views, and Models specific to that area.
- Register Area - In the AreaRegistration class, register the area using the AreaRegistration.RegisterAllAreas() method in the Application_Start method of the Global.asax.cs file.
public class AdminAreaRegistration : AreaRegistration
{
    public override string AreaName
    {
        get { return "Admin"; }
    }

    public override void RegisterArea(AreaRegistrationContext context)
    {
        context.MapRoute(
            "Admin_default",
            "Admin/{controller}/{action}/{id}",
            new { action = "Index", id = UrlParameter.Optional }
        );
    }
}
Accessing an Area
Once an area is created, you can access its controllers and actions using the area name in the URL. For example, if you have an "Admin" area with a "Home" controller and an "Index" action, you can access it using the URL ~/Admin/Home/Index.
Next
