.NET Core - Installation
In this tutorials, we are going to learn how to install ASP.NET Core Web API. You can install .NET Core in two ways.
The followings are the ways to install .NET Core in .NET(Visual Studio).
- Visual Studio Installer
- Install .NET SDK
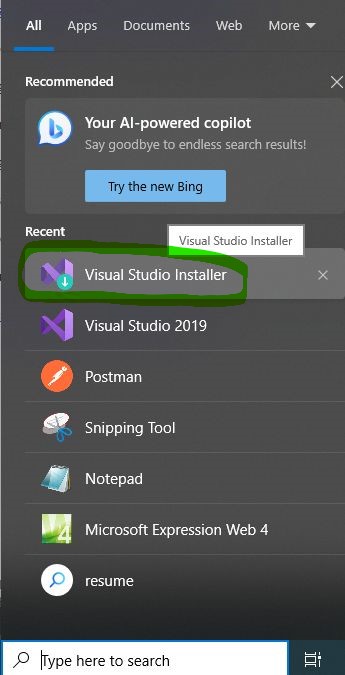
1. Visual Studio Installer
Download and install Visual Studio 2019. Select the appropriate edition as per your license. You can download from below link.
https://visualstudio.microsoft.com/downloads/
The community edition is free for students, open-source contributors, and individuals. This will install .NET Core 2.1.
During installation, select ".NET Core cross-platform development" workload.

This will install .NET Core 2.1 as clearly mentioned in above image.
If you want to install higher version. you need to install .NET Core 3.1 SDK or more versions separately.
2. Install .NET SDK
As you have seen, Visual Studio 2019 installer includes .NET Core 2.1 but not .NET Core 3.x or more versions. You need to install it separately. Ensure that you have the .NET SDK (Software Development Kit) installed on your machine. You can download it from the official .NET website.
https://dotnet.microsoft.com/download
Now open the above link. The folllowing will show you the version which you need to install.
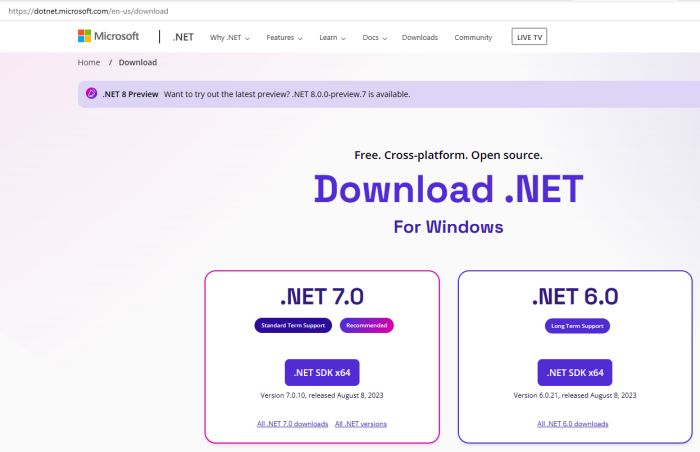
Here we will install .NET Core SDK because we are preparing a development environment for building .NET Core applications. If you are aiming to run .NET Core application, then install .NET Core Runtime on your server or cloud or client desktop.
Next