.NET Core - Create Application
In this article we will learn how to create an ASP.NET Core application in Visual Studio. you can follow these steps.
Step 1: Install Visual Studio
Ensure that you have Visual Studio installed on your computer. If not, You can download the latest version of Visual Studio from the official Microsoft website.
https://visualstudio.microsoft.com/
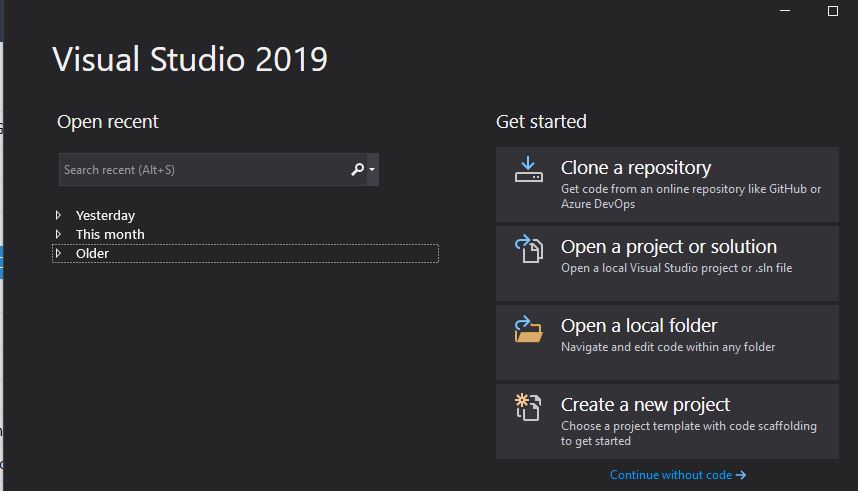
Step 2: Open Visual Studio
Open Visual Studio from your computer's Start menu or desktop shortcut. Click on "Create a new project" or go to "File"- > "New" -> "Project" to open the project creation window.
Step 3: Create a new project
In the project creation window, search for "Web Application" in the search bar. Select the "ASP.NET Core Web Application" template from the list of available templates.
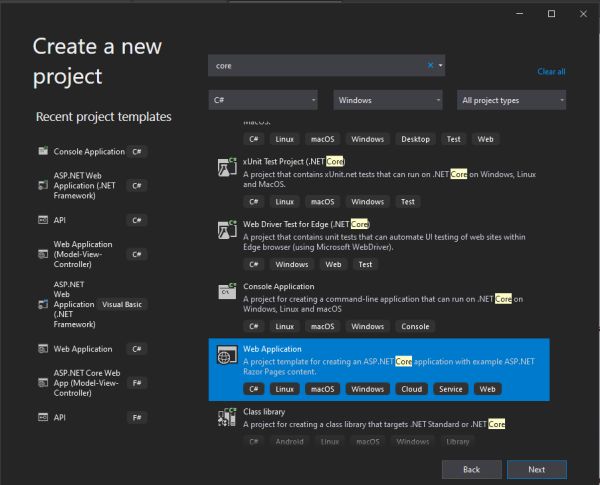
Step 4: Choose ASP.NET Core Web Application template
Enter a name for your project and choose the location where you want to save it. Click on the "Create" button to proceed.

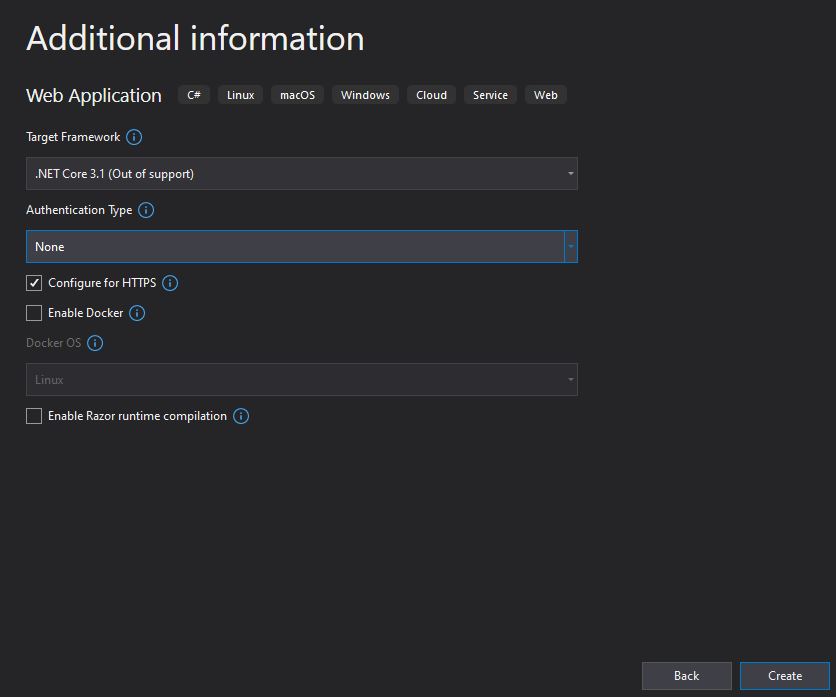
Step 5: Configure the project
In the project configuration window, you can specify additional settings such as authentication, HTTPS, and Docker support. Modify the settings according to your requirements and click on the "Create" button.
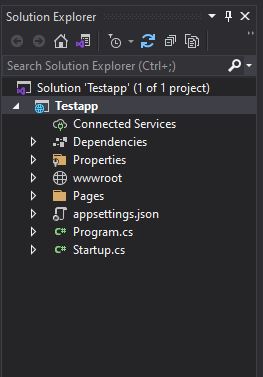
Step 6: Explore the created project
Visual Studio will create the ASP.NET Core project based on the selected template. You can explore the project structure, which includes folders.
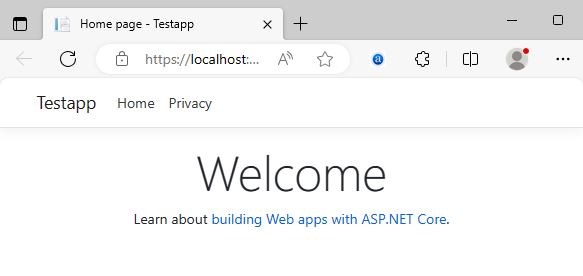
Step 7: Build and run the application
Press F5 or go to "Debug" -> "Start Debugging" to build and run your ASP.NET Core application in Visual Studio. The application will launch in the web browser, and you can test its functionality.
Next