ReactJS Installation
In the previous tutorials we have installed Install Node.js and NPM and Visual Studio Code. To see previous tutorial follow the below link:
Install React
You can install React using npm package manager by using the below command.
npm install -g create-react-app
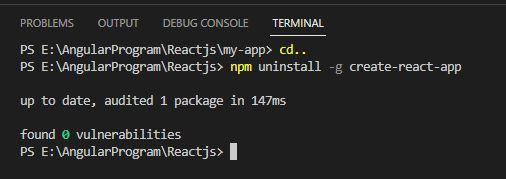
If you've previously installed create-react-app globally via npm install -g create-react-app, we recommend you uninstall the package using
npm uninstall -g create-react-app
or
yarn global remove create-react-app
To ensure that npx always uses the latest version.
Note - NPX is a package runner tool comes with npm 5.2+ and higher version.
Visual Studio Code editor to install ReactJS
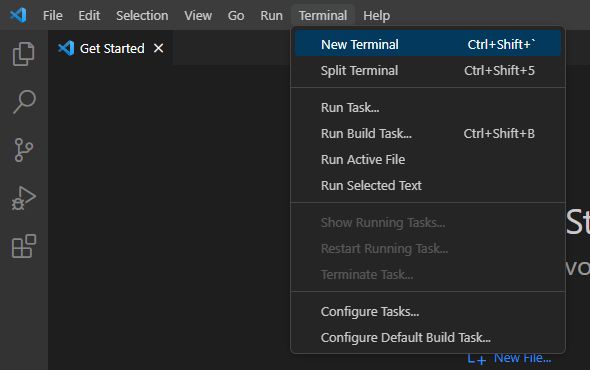
Now open the Visual Studio Code and click - Termonal -> New Terminal

After open terminal you have already install create-react-app, we have uninstall the package using

So we are using npm 8.15 version. So there is no need toinstall as NPX package runner tool comes with npm 5.2+ and higher version.
Creating an App
Create a new React project After the installation of React, you can create a new react project using create-react-app command.
npx create-react-app firstreactappRun the above command will create a directory called firstreactapp inside the current folder. Inside that directory, it will generate the initial project structure and install the transitive dependencies.
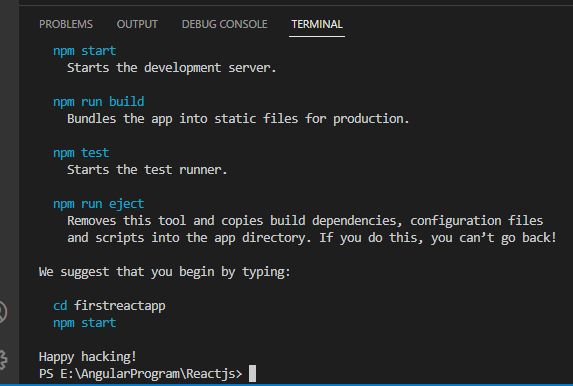
The above command will take some time to install the React and create a new project with the name "firstreactapp . Now, we can see the terminal as like below.

The above screen show that the React project is created successfully on our system.
Now, we need to start the server so that we can access the application on the browser. Type the following command in the terminal window.
cd firstreactapp
npm start
Run the following command on Visual Studio Code:
PS E:\AngularProgram\Reactjs> cd firstreactapp
PS
E:\AngularProgram\Reactjs\firstreactapp> npm start
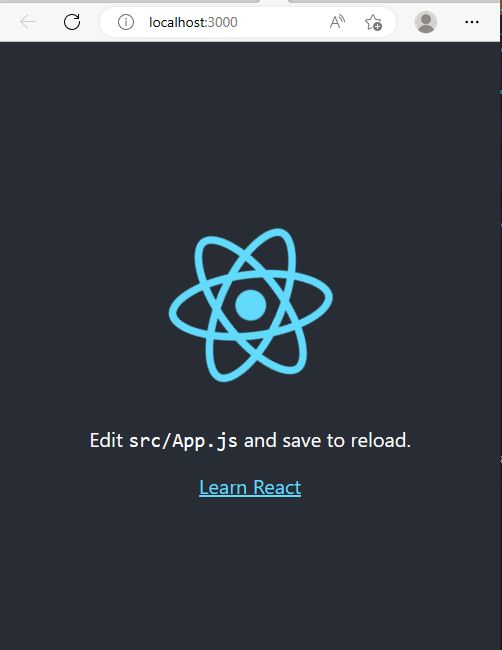
NPM is a package manager which starts the server and access the application at default server http://localhost:3000. Now, we will get the following screen.

Prev Next
