ASP.NET Web API - Start
In this tutorials, we will see the steps to set up your development environment and create a new project in ASP.NET Web API. Here is a step-by-step guide to help you get started.
Here we will cover the following.
- Prerequisites
- Create a New ASP.NET Web API Project
- Understand Project Structure
- Create a Web API Controller
- Impement API Actions
- Run the Web API
1. Prerequisites
- You need to install Visual Studio (2019 or later).
- You can download Visual Studio from the Microsoft website.
- You should familiar with C# programming language and the basics of ASP.NET.
2. Create a New ASP.NET Web API Project
- Now Open Visual Studio and click on Create a new project button.
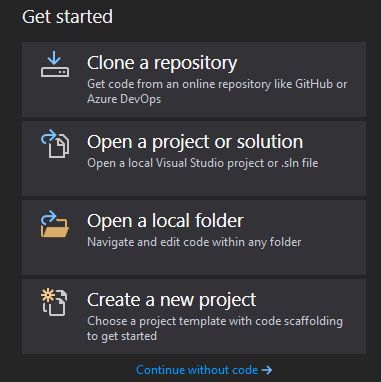
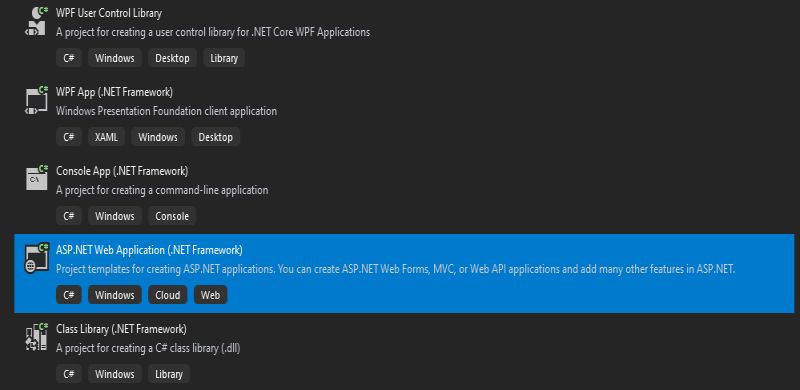
- In the project creation wizard, select ASP.NET Web Application and
click Next button
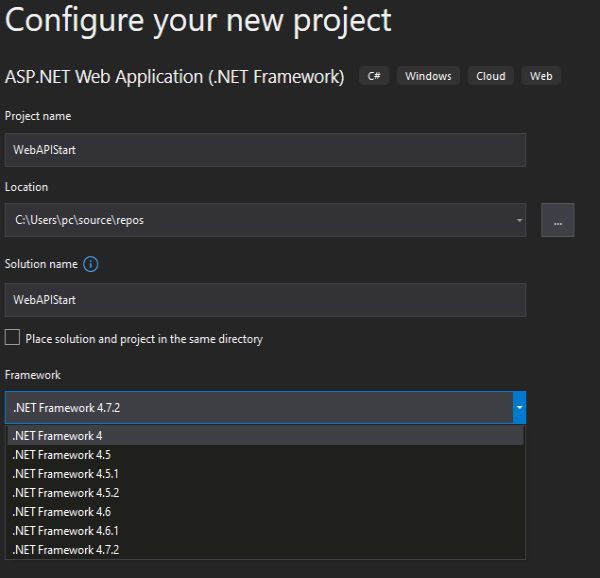
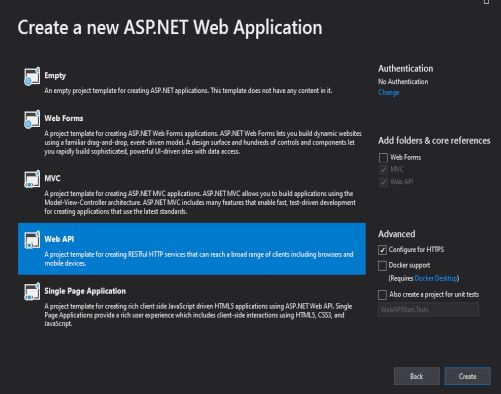
- Choose a project name and location and select API as the project
template and ensure that .NET 5.0 (or the latest version) is selected as the
target framework, then click Create button.
- Click Create to generate the new Web API project.
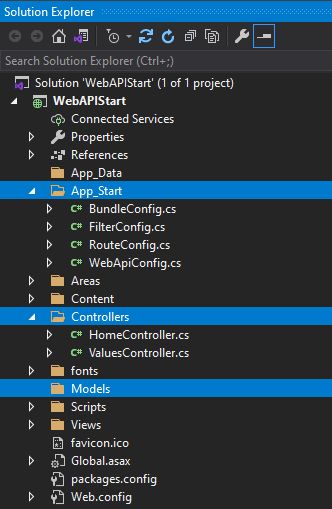
3. Understand Project Structure
The new project will have a structure similar to an ASP.NET Core application. Key files and folders include.
- Controllers - This folder contains the Web API controllers that handle incoming requests and produce responses.
- Models - This folder contains the data models used by the Web API.
- App_Start Folder -The WebApiConfig.cs is configuration file for Web API. You can configure routes and other things for web API, same like RouteConfig.cs is used to configure MVC routes.
4. Create a Web API Controller
- Inside the Controllers folder, right-click and select Add -> Controller.
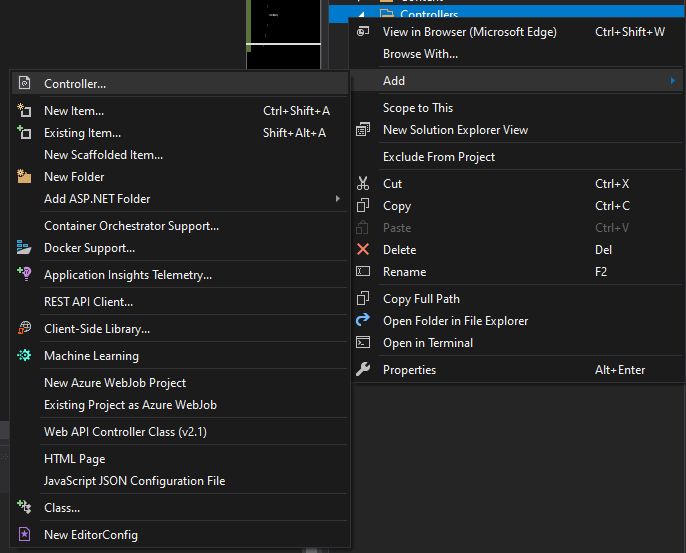
- Choose API Controller - Empty template and click Add.
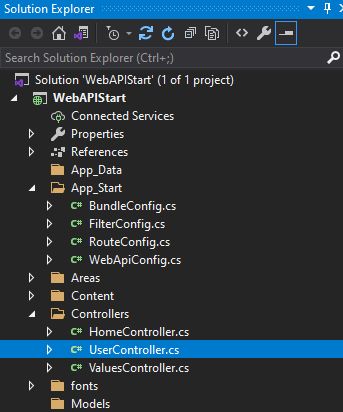
- Give the controller a name, for example, UserController, and click Add.
- The new controller will be created with some default methods like Get,
Post, Put, and Delete. You can modify and add more methods based on your Web API
requirements.
5. Impement API Actions
Within your controller, define the methods that will handle incoming HTTP requests and return responses. For example, a simple GET method might look like this:
using System;
using System.Collections.Generic;
using System.Linq;
using System.Net;
using System.Net.Http;
using System.Web.Http;

namespace WebApiExample.Controllers
{
    public class UserController : ApiController
    {
        public class UserModel
        {
            public int Id { get; set; }
            public string Name { get; set; }
        }
        private static List users = new List()
        {
            new UserModel { Id = 1, Name = "Rohatash" },
            new UserModel { Id = 2, Name = "Rahul" },
            new UserModel { Id = 3, Name = "Deepak" }
        };

        // GET api/user
        public IHttpActionResult Get()
        {
            return Ok(users);
        }
    }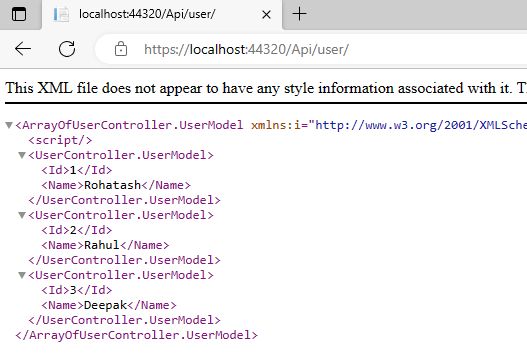
} 6. Run the Web API
Press F5 or click on the Run button in Visual Studio to start the Web API project. The Web API will launch in your default web browser, and you should see an API page or a response depending on the actions you've implemented.
Next