ASP.NET Web API - File Upload
This article shows an example of uploading a file in the ASP.NET Web API. Uploading the file from the client is a basic operation. The file can be upload to the web server. By default, the process of file uploading is asynchronous. The developers of ASP.NET use the HTML file input field. Now I illustrate the process of uploading a file to the web server.
Step 1: Create an ASP.NET Web API Project
We use the version of Visual Studio 2019 and .NET Framework 4.7.2 to build the app.
- Start Visual Studio and select Create a new project.
- In the Create a new project dialog, select ASP.NET Web Application (.NET Framework)-> Next.
- In the Configure your new project dialog, enter webapiexample for Project name -> Create.
- In the Create a new ASP.NET Web Application dialog, select Web API -> Create
Now build and run the app, you will see the following image shows the application.

Step 2: Add one empty ApiController
Add one empty apiController into the app, with the name as FileController:
- Right click Controllers folder -> add -> controller.
- In the Add New Scaffolded Item dialog, select Web API in the left pane, and
- Web API Controller - Empty -> Add.
- In the Add Controller dialog, Change FileController for controller name > Add.
Step 3: Add code into the controller
We add the following code into the controller.
using System;
using System.Collections.Generic;
using System.Linq;
using System.Net;
using System.Net.Http;
using System.Web.Http;
using System.Web;
using System.IO;
namespace webapiExample.Controllers
{
public class FileController : ApiController
{
public HttpResponseMessage Post()
{
HttpResponseMessage result = null;
var httpRequest = HttpContext.Current.Request;
if (httpRequest.Files.Count > 0)
{
var docfiles = new List<string>();
foreach (string file in httpRequest.Files)
{
var postedFile = httpRequest.Files[file];
var filePath = HttpContext.Current.Server.MapPath("~/" + postedFile.FileName);
postedFile.SaveAs(filePath);
docfiles.Add(filePath);
}
result = Request.CreateResponse(HttpStatusCode.Created, docfiles);
}
else
{
result = Request.CreateResponse(HttpStatusCode.BadRequest);
}
return result;
}
}
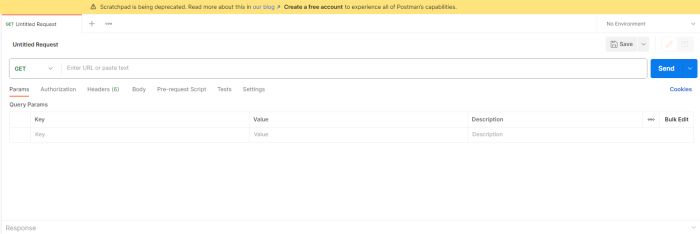
}Step 4:Once the Postman is successfully installed or added in your browser, Now open the Postman. It will look like the image displayed below.
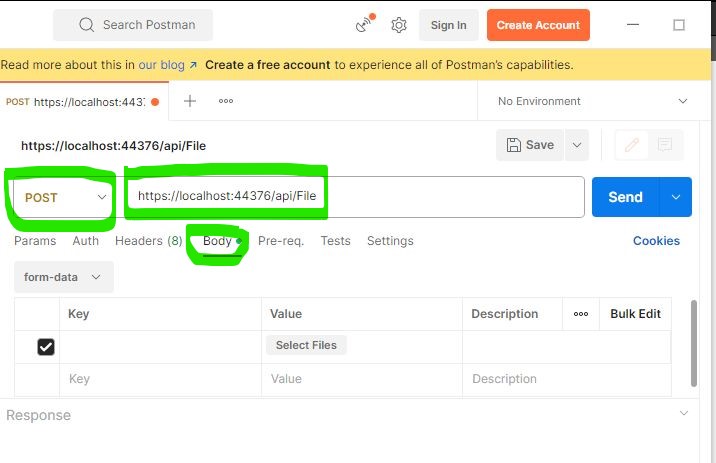
POST Request using Postman
Select the HTTP Method as POST and enter the URL of your Web API and select BODY, Select Form-DATA as displayed in the below image.
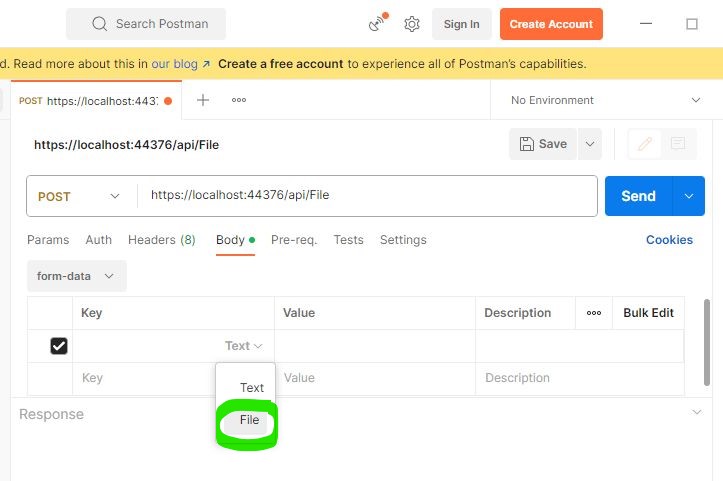
Now Select file in Key column inside form-data.
Now click on the select file and upload file as shown below:
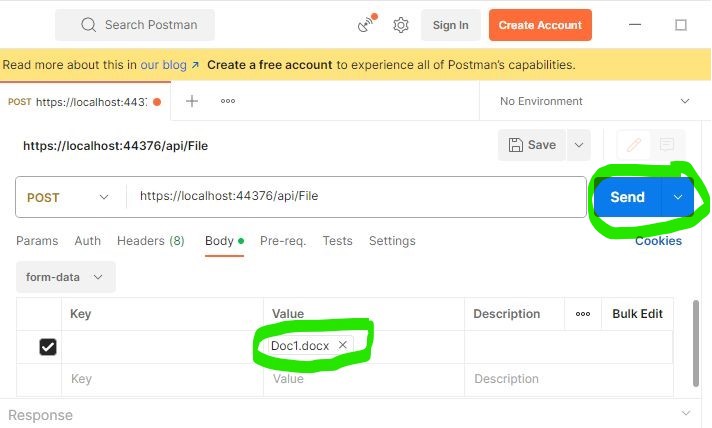
Click on the send button which will send a post request to the web API. It is showing status code 201.
Status Code 201 - The request was successful, and a new resource was created as a result.

Now Check in the application file uploaded on Server.
Next